Friday 9 August 2013

The search for the perfect black cami/strappy tank top

If you haven't noticed, cami's are all over Polyvores, and a lot of fashion forward stores are starting to carry them. I've been searching for that "perfect" cami for a while now. The Perfect Cami fits loose, exposes 2/3-1/2 of your back, has a droopy vneck that gives decent chest coverage, but still shows off your collar bones, and low enough for your cute lace bralette to peek through. 

Being a petite girl myself, I can say it's hard to find the right fit. Having small framed shoulders, a narrow waist and small chest, it's tough to find a loose top that doesn't swallow you. Here are three strappy tank tops that I've come across, and here is why they did or did not work.

Zara Strappy Top ($45.90 CAD)

This was the first cami I came across that wasn't over $100 on Polyvore, but not dirt cheap either. In the image it appears to be nearly perfect, possibly too low of a vneck for my taste, but I assumed it was nothing a smaller size can't fix. The straps seemed to hang high enough to give that coverage I was looking for. Shockingly however when I tried it on, it was way too over exposing. The straps are actually really long, baring the front and back of my body. I don't exactly have a big bust to fill it in either. Pulling it up meant exposing my entire back and pulling it forward bared my entire chest. I think this top can work for a gal with a big chest, or is tall, or has broader shoulder. 

Asos Woven Cami ($21.40 CAD)
This is when I thought I hit the jack pot. Inexpensive, and comes in petite, guaranteeing that petite fit. Oh but I was wrong. It fit a lot like the strappy tank top from Zara. It's exactly how it appears it in the image, extremely low in the front again baring almost everything. Wearing a bralette or bandeau couldn't even save it. The material was also a little stiff, and the cami was really box-y, not flow-y. Pass.

Topshop Strappy V-neck Cami ($36 CAD in stores/$30 online)
This one is the real deal, I wish I came across it sooner. Topshop had free international shipping so I took a risk and ordered this in a size 2. At the time I didn't realize they offered it in petite, but I'm unfamiliar with how their petite range fits so I like to stay safe with the regular sizes. This cami had the perfect fit. I like that it's not cropped either. High coverage in the front, hangs low (but not too low) in the back. It felt silky and smooth, and it's just a little bit sheer. I'm in love. 


Manic Panic in Wildfire Review and Photos!

I was feeling spontaneous the other day and decided to grab some hair dye to colour my hair. Originally I wanted to colour my hair a washed out looking lilac, like this:


I bought a "Directions" hair dye off Ebay, which I read good things about. However my hair didn't pick up the colour the way I hoped (either the dye was expired or my hair wasn't bleached enough). This time I was contemplating between red, blue, or green. I know based on experience that hair picks up red really easily so I bought the colour wildfire by Manic Panic (mostly because of the name). 


I previously tried Manic Panic before, this was my third experiment with it. I find that it fades really quickly and requires touch ups. Since it's so easy to apply and I only want it for the tips of my hair I don't mind the fading.

Before After
Since I already had ombre hair I didn't need to bleach it. On the left is how my hair looked before and on the right is the result after 30 minutes of leaving the product in my hair. The directions state to apply it on freshly washed and dry hair, mine wasn't freshly washed so that may or may not have made a difference. 


I've never had this tone of red before. I've had magenta, and redish brown. This appears to be a copper-red. The tips were practically platinum blonde and took the dye in really well. The other parts that were more of a orangey brown still picked up the red, it looks faded which works since my hair is ombre.

If you're feeling a sudden need for immediate change like I was, but don't want something completely permanent I would suggest you pick up Manic Panic, because the dye doesn't last that long. It won't fade entirely (depends on the colour you choose), but it doesn't stay as intense as the first time after a couple of washes. If you're cool about touching it up every week to get the desired intensity you would like then go for it. The price is decent when you compare it to a trip to the hair salon, but the quality isn't up to par versus high quality brands of course. I'd call it a fun pick me up!

This product is available in Shoppers Drug Mart ($14.99)

Wednesday 7 August 2013

Rimmel's Apocalips Lip Laquers (review and swatches)

Hello world! I'm in love with Rimmel's Apocalips lip laquers and wanted to share my love with you. Correct me if I'm wrong, but I believe this product wasn't available in Canada (Toronto) as of recent, I've heard about them from bloggers in the UK and couldn't wait to try these out. I believe in the UK there are 8 ranges of colour, and 10+ in North America. I'm going to review four of the colours for you.

Left to right: Big Bang, Stellar, Celestial, Luna.
I'm really digging the packaging, typically I gravitate towards simple, and classic gloss tubes but I think these are interesting and stand out a bit more from their other collections. The top of the tube reminds me gemstones, and the bottom fades into the colour of the lip laquer which is actually a true representation of the colour. 


One thing I love about these is the doe foot applicator, it's just the right size for a precise application. There's a little groove on front where the product builds up and allows you to apply more product to your lips. 

For a casual look on a regular bases, Luna and Celestial hands down. Luna is a soft organge-peach and Celestial is a soft pink. Stellar is more of a neon pink, really bright and perfect if you want something that stands out. Big Bang is your classic red, another favourite. They're all very pigmented and I think you can get away with 1-2 layers. They have a satin finish but gradually dry more matte - sometimes what I like to do is blot it with tissue to tone down the shine and it becomes a beautiful lip stain. 


The staying power is quite strong, but they tend to fade on the inner lips more leaving you with a liner of colour which can look a little awkward - nothing a little touch up can't fix. I would describe this product as a liquid lipstick as it doesn't feel glossy or sticky to me, it's actually a little runny. 

Over all this is a great product! Lovely packaging, good pigmentation, leaves a beautiful stain, definitely a favourite. 

In Toronto, Canada you can find this product in few Shoppers Drug Mart ($9.99) and Target ($7.99).

I'm going to leave you a link to a detailed video on more of the colours, this girl does a great job describing them with swatches too. (here)

Monday 5 August 2013

Ipsy Glam Bag July 2013 (review and swatches)

If you're anything like me, you like to do intense research about a product before purchase, that's why I decided to do a review on July's Ipsy Glam Bag. I'm currently subscribed to Ipsy, and Topbox, so far I've been gravitating towards Ipsy! This month's glam bag is a favourite for sure.


I received Benefit's Benetint (2.5 ml), BH Cosmetics California Collection eyeshadow palette, Coola Mineral Sunscreen Tinted Moisturizer (7 ml), Pop Beauty Pouty Pop Crayon in Coral Crush (3 g), and Sexy Hair Water Proof Spray (50 ml).


Sexy Hair Weather Proof is a humidity resistant spray, and it comes in the cutest travel size can (Got to love mini sizes). I haven't had the chance to try this sucker out, but I'm excited to see how well it works against the humidity here in Toronto. I'm not the only one who frizzes horribly in the heat, right? 


I've been eyeing Benefit's Benetint for a long time now, so I was very pleased to receive the rose-tinted lip and cheek stain! If you aren't familiar with this product, it's a liquid formulation that you apply with it's brush onto the cheeks and blend with your finger tips. It gives very natural, flushed finish, (imagine if you have been jogging or out in the cold) - that natural!


The BH Cosmetics sample sized eyeshadow palette consists of Hollywood (purple), San Francisco (shimmery brown), and Malibu (shimmery gold). I found that Malibu had good pigmentation, SF wasn't as good, and Hollywood is really light! I think it's a fun palette, but since I already own many neutrals it didn't do much for me. 


I was pleasantly surprised with the Coola tinted moisturizer. I love that it's organic, and has an SPF of 20. As you could tell in my photo the colour doesn't quite match to mine, but it worked well on my face and left a glowing finish. I found it personally light weight on my skin, and since I have oily/combination skin it required a little powder. I was able to get 3-4 wears out of it (I prefer thin layers in the summer).


I've never heard of Pop Beauty before, I love that Ipsy is introducing me to new brands. I received the shade coral and it glides on super smoothly! It's very pigmented, and looks lovely whether you put on one layer or five. The only issue I have is that it emphasizes lines and cracks, so be sure to exfoliate the lips! It feels moisturizing however. I personally dig jumbo lip pencils.


Wearing:
Rimmel Wake Me Up Concealer
Maybeline Falsies
Mac Gel Liner
Benefit Benetint
Pop Beauty Coral Crush

Overall I was satisfied with this month's glam bag since last month's didn't really do it for me. This bag is $10 with $5 shipping and I find that you get your moneys worth for sure. Good job Ipsy! 

Sunday 24 March 2013

Mac/Estée Lauder Warehouse Sale Haul 2013

After two buses, some walking, hitching a ride, and cabbing back, was it worth it? I'd say, yes. This year was my first time going to the Estée Lauder sale, and most likely won't be my last. If you're anything like me, you did (or are doing) some research to get an idea of what these sales are like. Let me break down my day for you: Skip to the bottom to see my haul!


I don't work for any of these companies so I had to do a little searching to get these tickets. My friend and I wanted to be the first ones there, so we went on Friday, March 22. It started at 10am and we wanted to get there at least an hour prior, that didn't happen exactly... we didn't realize how far this place actually was. It's far. If you don't live relatively close, expect a mission ahead. It's best you drive there, or take a cab, or even prepare for a walk. We took two buses to the Markham area, then at a certain point there's no bus service so you have to walk (which would have taken us about 30 minutes). About half way, two strangers asked if we were headed to the sale, and offered us a ride - they seemed alright - so we took the offer. In no way would I usually recommend hitching a ride - ever, but moving on... 

We arrive there at approx. 9:15, they've let everyone line inside at that point so we didn't have to wait out in the cold (be prepared for that). There was about a max of 100 people ahead of us, and the line quickly grew outside the venue behind us. They opened the doors at 10 and by 10:15 we made it inside (not bad!). 
Inside there are three sections/venues, divided between concealers and eyeshadows, foundations and brushes, lipsticks and blushes, and each section had a variety of fragrances and skin care products.  They had brands like Clinique, Mac, Bobbi Brown, Origins, Estée Lauder, DKNY, Michael Kors, ect... Don't be worried about products running out at this point because it wasn't as busy as you would think. There were bins of products that you can just pick up, and there were also stations of product samples taped to the table to prevent things from getting messy. They provided paper and pencils and all you do is write down the number of the product and pick it up at another station.

TIPS: 

1. Come with an open mind

I overhead girls next to us complain about the line ahead but personally, it wasn't that bad. We came with an open mind, and we were optimistic too. I've read a lot of blog posts about these sales, so I knew what to expect. Also, don't expect there to be certain colours or products, because most likely you won't find it. Just because they sold it the time last, won't mean it's there again.

2. Be prepared

I wouldn't suggest you come with a list - you can if you want, maybe a general list - but like I said previously you may not find it, so don't be so specific. There's enough time to go through each station and find what you want. By being prepared I mean for the weather, dress warm. Be prepared with a pen! Sometimes too many people are waiting to use the pencils, so bring a pen. Be prepared with a snack, you might get hungry waiting (they sold hotdogs and snacks at the event too). Be prepared for directions if it's your first time.

3. Don't worry about changing your mind on items until the end

Here's why: When you pick up your list of items at each station, they bag it for you. You can't open the bags (literally impossible, unless you poke a hole through it which I don't think they allow). So if you change your mind about these items they have to rebag the products. I suggest you just grab what you want first, then at the very end near the check out area, there's a return section where you can decide what to return and keep at once. 

THE GOOD:

Most people were patient. There were some sections where people were fussy and pushy but overall it was good. I think you'd benefit from the sale if you're looking for items like, concealer, foundation, mascaras, skin products and fragrances because they had a lot of that. You also get a free gift at the end,  and $5 donation bags you can buy.

THE BAD:

It's located in the middle of no where, and takes a while to get there. There wasn't a great variety of lipstick/eyeshadow/blush colours. Like I said don't walk in expecting certain colours (Like I did) because they may not appeal to you. I still managed to find a few I liked but I expected to find more neutral matte shades in eyeshadows, and a variety of blushes. (I'm referring mostly to Mac).

And now for the haul:


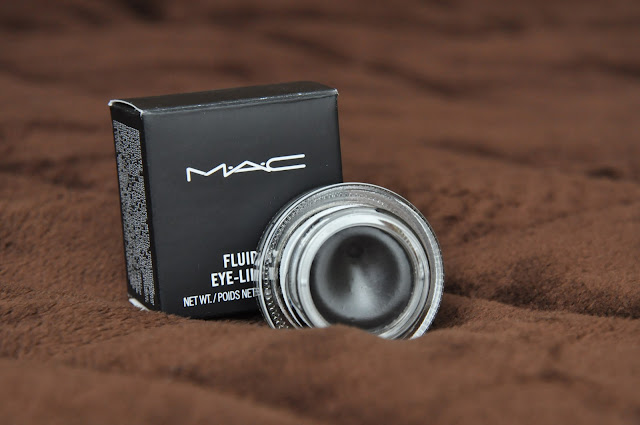
Fluidline Eye-liner Gel in Blacktrack, $12

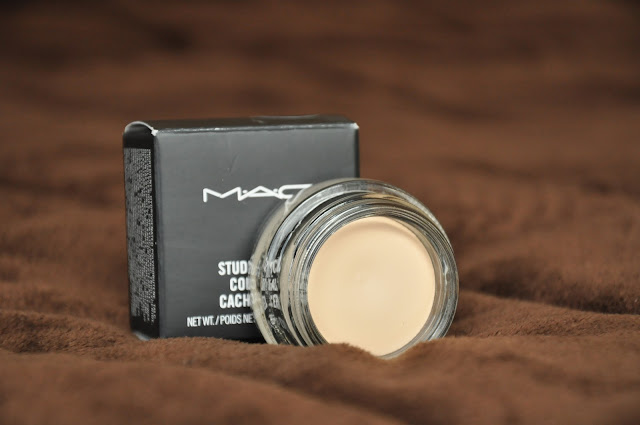
Studio Sculpt Concealer in NW15, $9

Paint Pot in Soft Ochre, $12

Eyeshadow in Bisque, $12

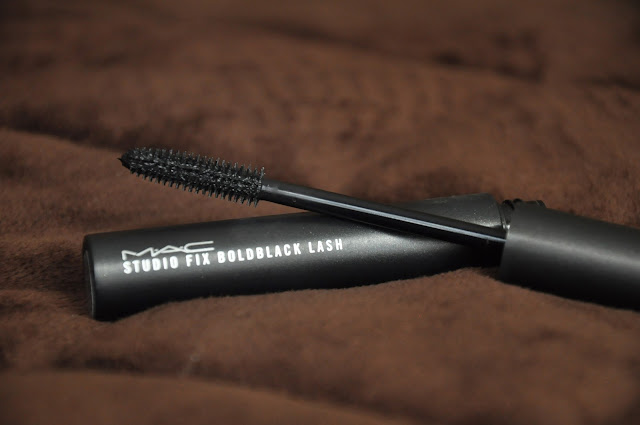
Studio Fix Boldblack Lash, $12

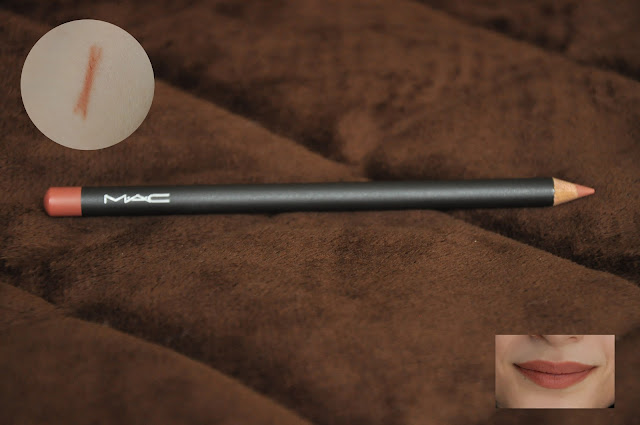
Have To Have It lip pencil, $9

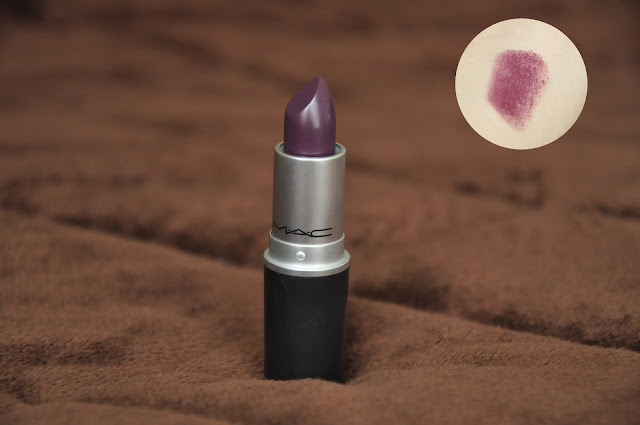
Amplified Creme Lipstick in Yung Rapunxel, $12 

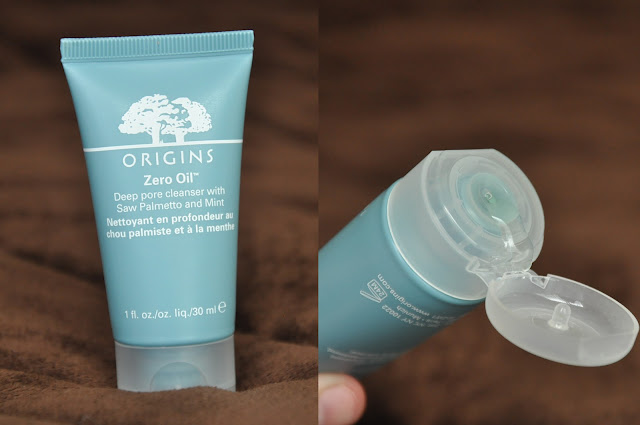
Zero Oil cleanser $4

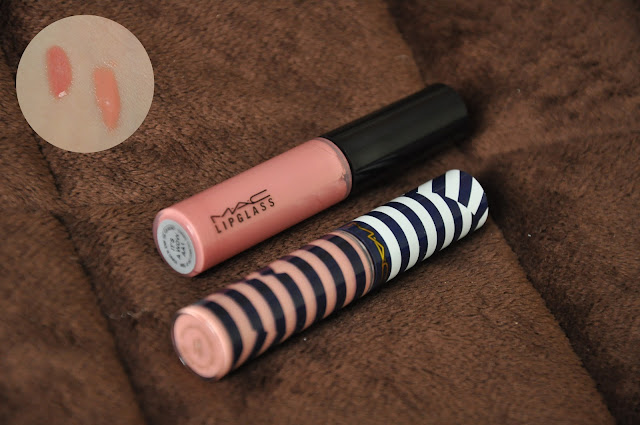
Top to bottom/Left to right: Lipglass in It's A Wow $12, Lipglass in Orange Tempura $12

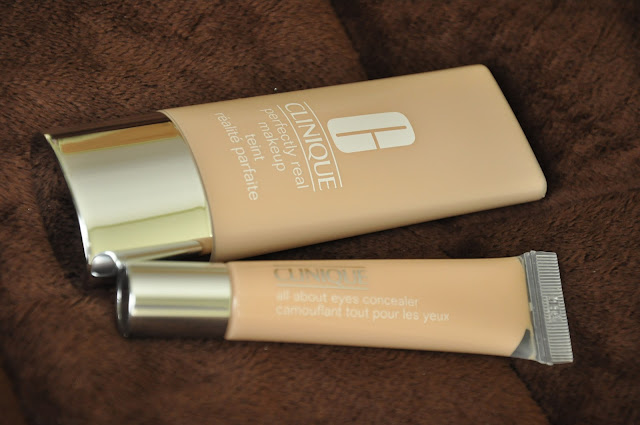
Top to bottom: Perfectly real makeup shade 04 $12, All about eyes concealer in 01 light neutral $9

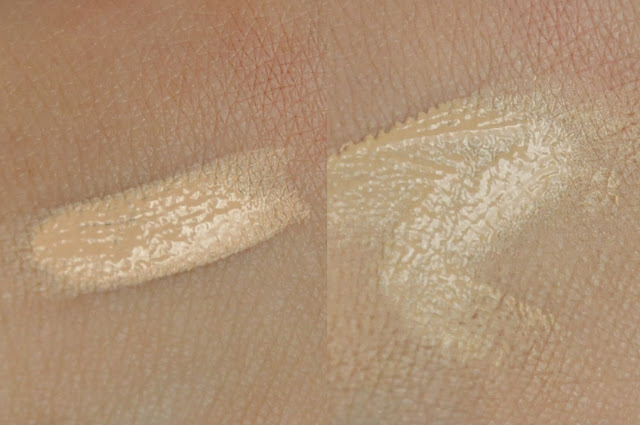
Left to right: Perfectly real makeup shade 04, All about eyes concealer in 01 light neutral 

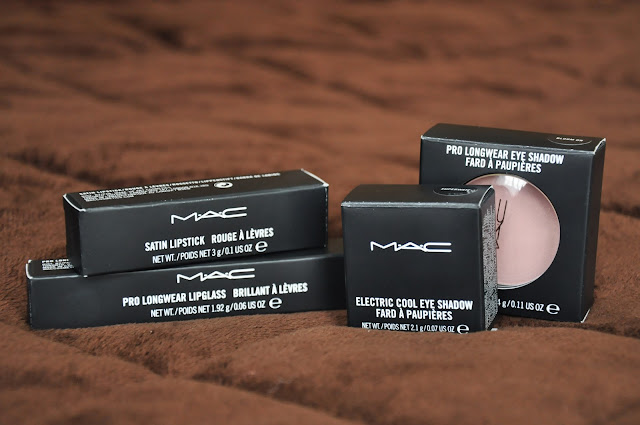
Near the end we exchanged our tickets for a free gift, which was an eye shadow in Bloom On. I also bought a $5 bag of random items and inside they had an eyeshadow, lip stick, and lipglass. 

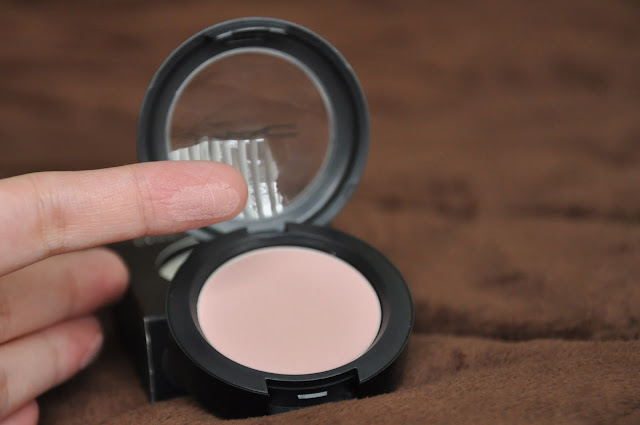
Pro Longwear eyeshadow in Bloom On 

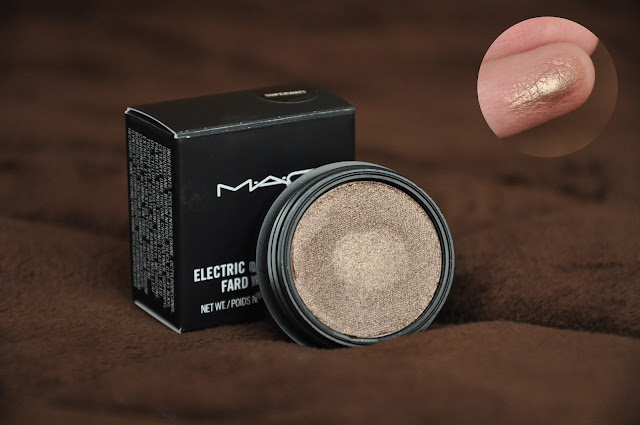
Electric Cool eyeshadow in Superwatt

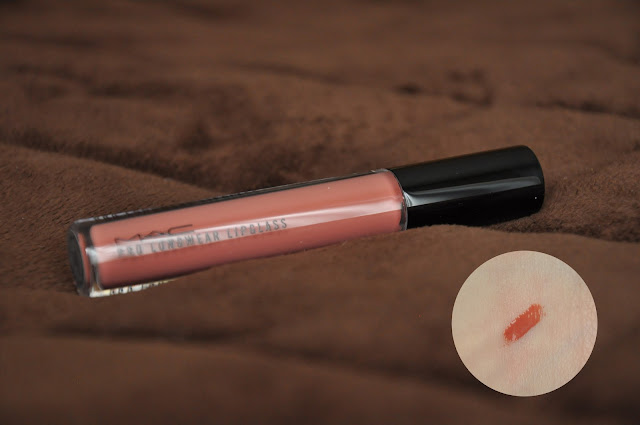
Everlasting Nude Prolong Wear Lipglass

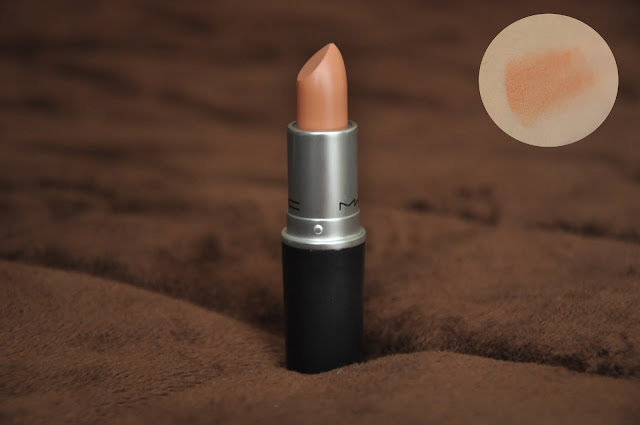
Satin Lipstick in Peachstock

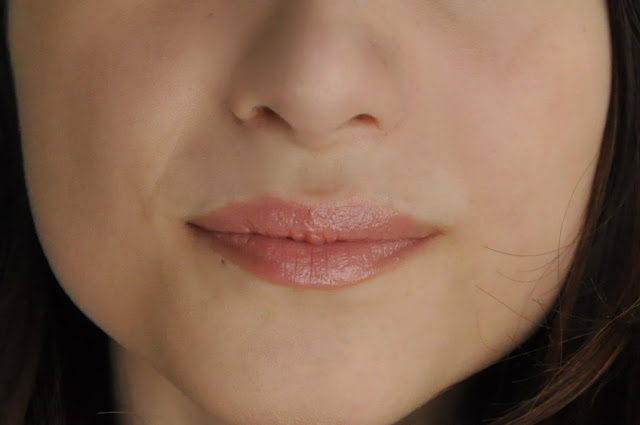
Wearing Peachstock & Everlasting Nude